In this article, scenario which is used is a ‘nested virtualization’. Read this article titled ‘Configure KVM for Nested Virtualization‘ for more information about it. This is a virtualization type which is an installation of a virtual machine or guest machine inside another virtual machine or guest machine.
For a guest machine which is already run inside a virtual server management such as Virtual Machine Manager, VMWare Workstation, etc, it can also serve as a new Host Machine so that it can achieve its purpose to run another Guest Machine inside.
For that purpose, in the Guest Machine which is trying to be configured to run as Host Machine, the Guest Machine itself is needed to be installed some important packages such as KVM and Libvirt.
In this article, below are descriptions and explanations for the steps which can be taken to be implemented CentOS 7, below are:
1. Install the packages correlate with KVM and Libvirt by executing the following command :
yum -y install kvm libvirt
2. Edit Libvirt configuration file which is located in : /etc/syconfig/libvirt.conf
Original content of the file libvirt.conf which is opened using vim editor in a Guest Machine run inside Virtual Machine Manager :
Uncomment LIBVIRTD_ARGS=”listen” as shown below :

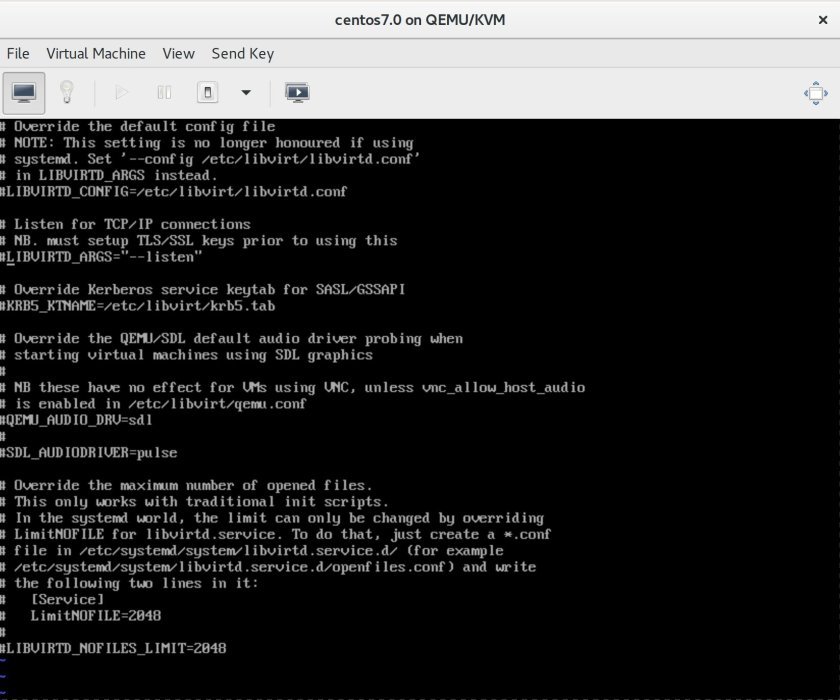
3. Edit another configuration file of Libvirt configuration located in : /etc/sysconfig/libvirtd.conf.
Below is the original Libvirt configuration file located in : /etc/libvirt/libvirtd.conf.
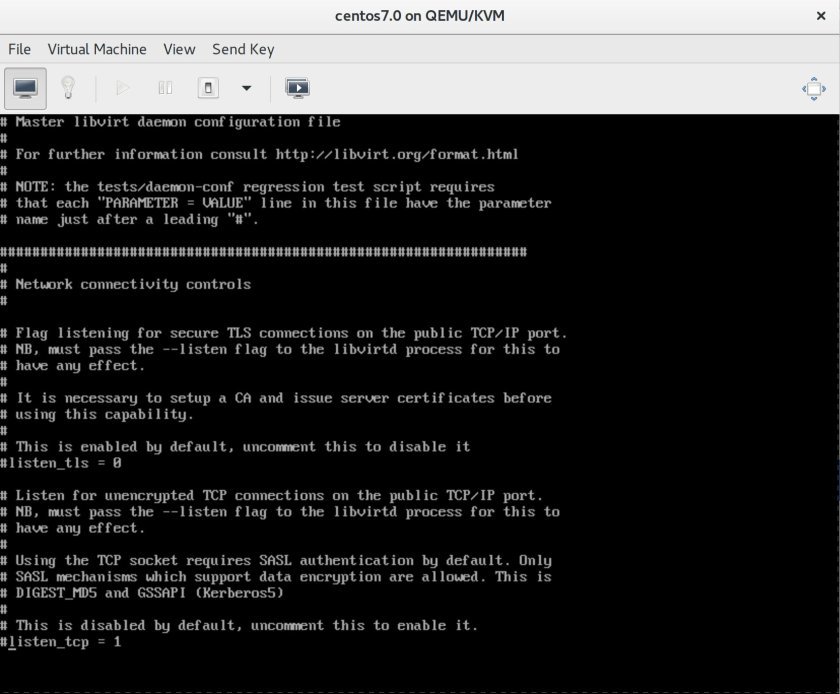
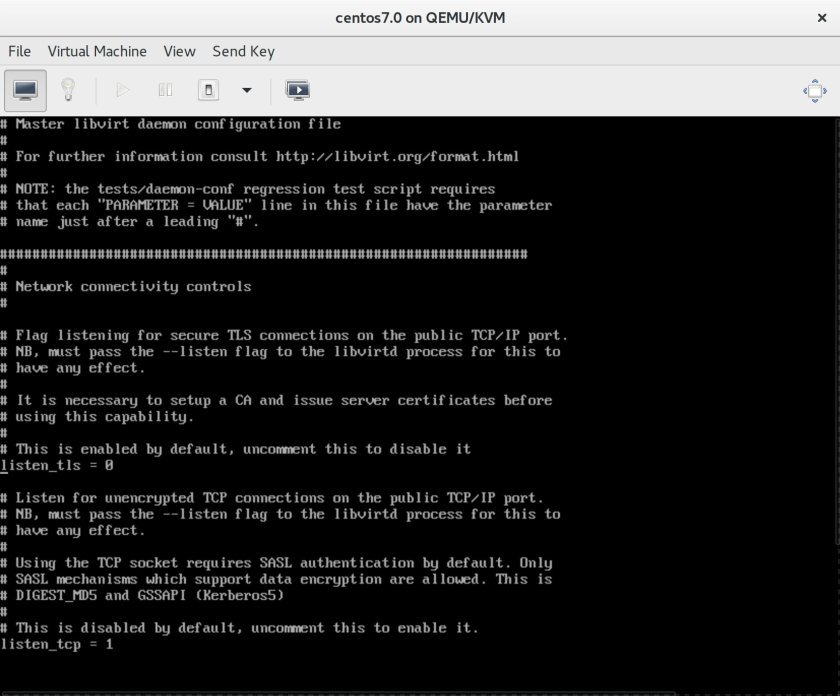
Uncomment the above entry located in /etc/libvirt/libvirtd.conf :
listen_tls = 0
and
listen_tcp = 1
It can be shown in the following image :
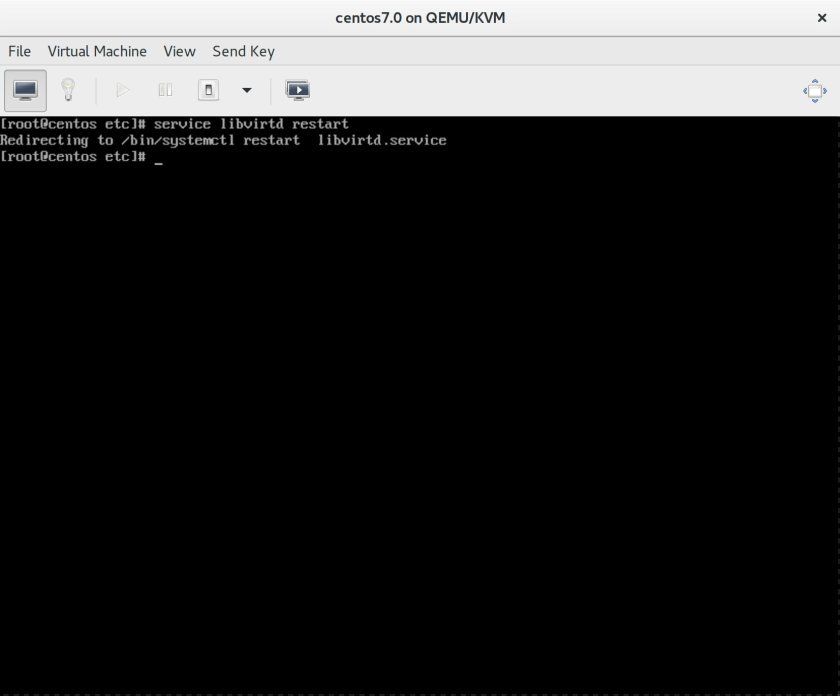
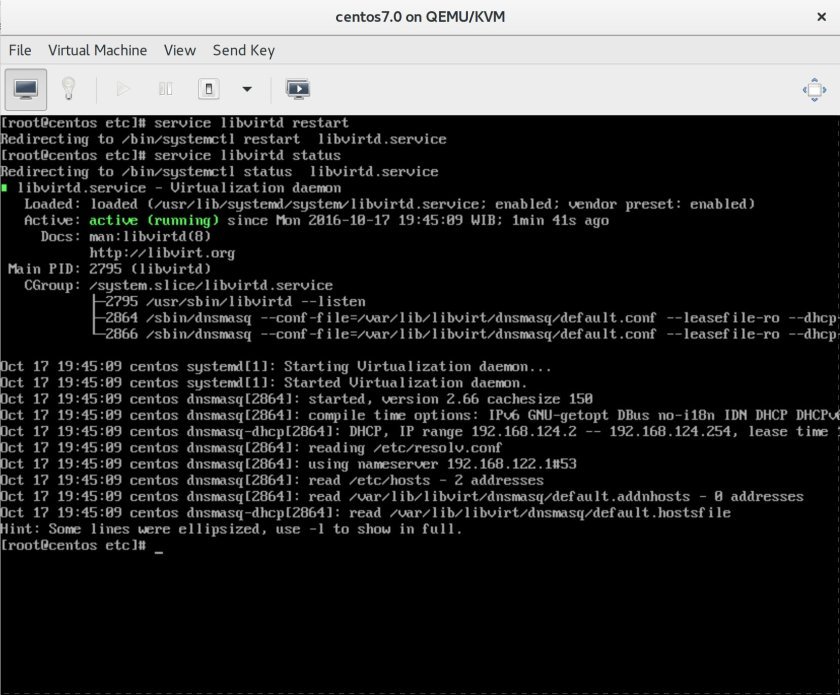
3. Restart Libvirt daemon or Libvirt service by executing the following command as follows :
service libvirtd restart
or
systemctl restart libvirtd
It can be viewed in the following image :
After starting the service, to make sure that the service has already run, it can be done by executing the following command :
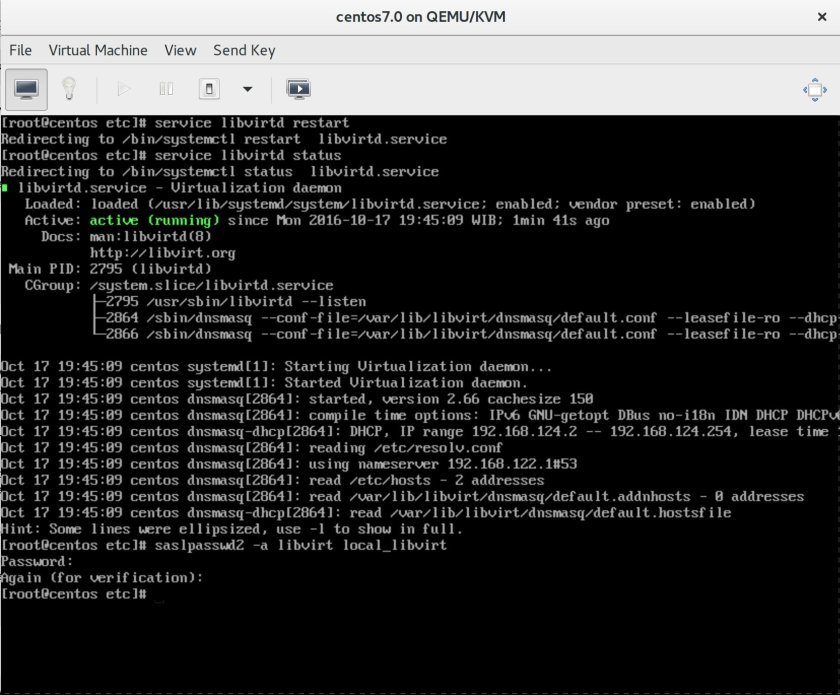
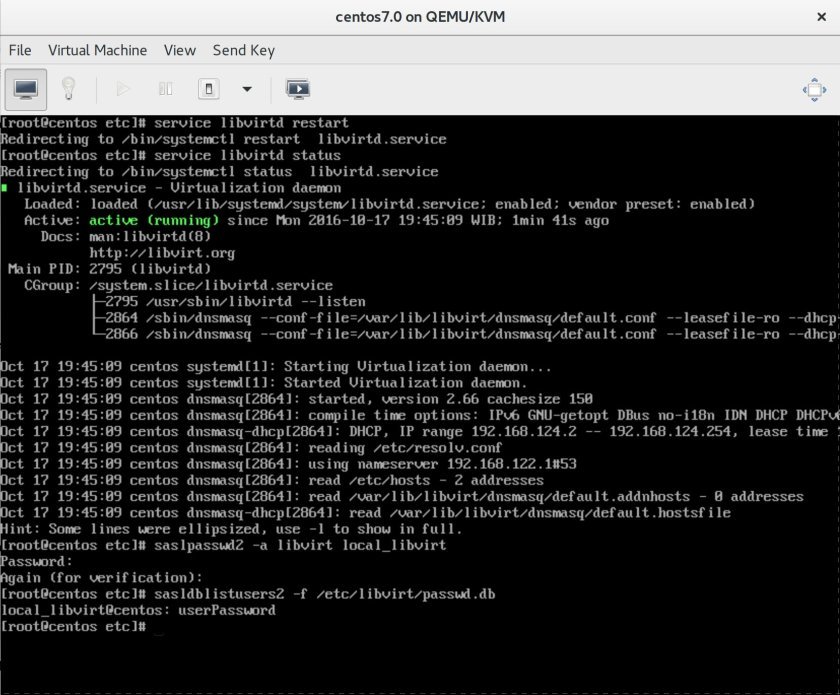
- Create a new user to access Libvirt by typing the following command :
saslpasswd2 -a libvirt my_libvirt
sasldblistusers2 -f /etc/libvirt/passwd.db
The above execution command can be shown as follows :
5. Remove all default network configuration relates to Libvirt which has been installed. Check the list of available network by executing the following command :
virsh net-list
The output of the above command’s execution is shown as follows :
root@hostname:~# virsh net-list
Name                 State      Autostart     Persistent
----------------------------------------------------------
default              active     yes           yes
root@hostname:~#
Destroy the virtual network named ‘default’ where it is actually exist as the first time Libvirst has already been successfully installed :
virsh net-destroy default
Below is the output of the above command’s execution :
root@hostname:~# virsh net-destroy default
Network default destroyed
root@hostname:~#
6. After destroying network list named ‘default’ without any further restarting the service, just add certain port which is used to listen for request on behalf of libvirt service. In order to allow certain port to be accessed, it can be shown as follows :
firewall-cmd --permanent --add-port=16509/tcp
The above command is used to add libvirt port so that the traffic request which is coming to the port is allowed. The port which is allowed by the above command execution is 16509. The package which is allowed to go through this port is a TCP package.
firewall-cmd --reload
After successfully add the port to the firewall, execute the above command to reload the rule in order for the rule can be activated and can be applied. After reloading the rule of the firewall, check the status of the firewall whether the firewall itself is running or not. Below is the command execution :
firewall-cmd --state
The output of the above command is shown as follows :
[root@localhost]# firewall-cmd --state
running
[root@localhost]#
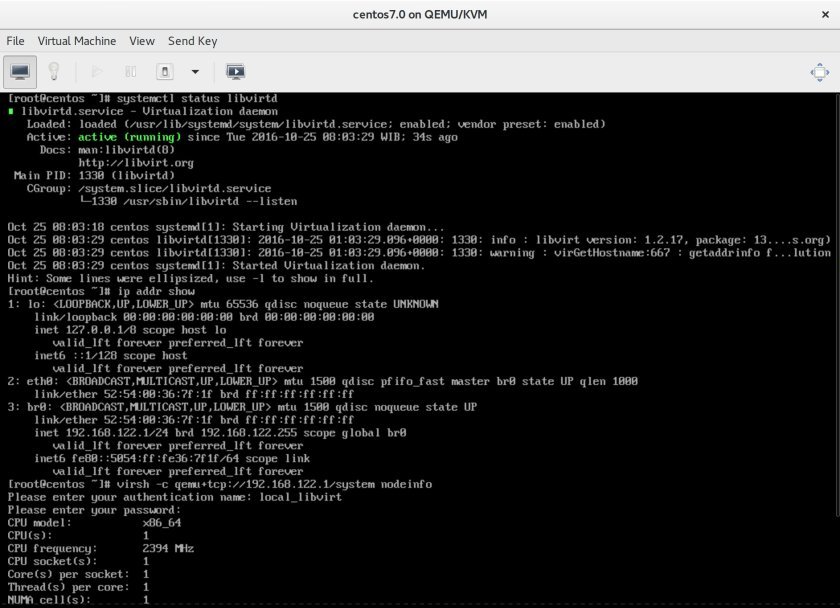
7. To make sure that the libvirt service can be contacted, execute the following command :
virsh -c qemu+tcp://ip_address/system nodeinfo
Description :
virsh : The 'virsh' command above is actually a tool operated in a command line which is used to manage guests and hypervisor.
-c : It is a command option used to connect to a specified URI which is actually the URI of the hypervisor
qemu : It stands for Quick Emulator.It is a free and open-source hosted hypervisor performs hardware virtualization.
tcp : It is a protocol used to connect to the hypervisor
ip_address : The IP Address of the hypervisor
system : connect as root to the daemon supervising QEmu and KVM domains
nodeinfo : It is a parameter used to output information about the hypervisor.
Below is the sample of the output’s command execution for an example :
virsh -c qemu+tcp://192.168.122.1/system nodeinfo
Hi
I’m trying to configure remote access on my centos 7. But when I run the following command:
# saslpasswd2 -a libvirt
Password:
Again (for verification):
I’m getting the following error.
BDB3037 /etc/libvirt/passwd.db: file size not a multiple of the pagesize
saslpasswd2: generic failure
[root@nuc01 libvirt]#
When I’m not specifying libvirt as appname it’s creating the user.
But when I try to login from a remote machine:
[root@webvirtmgr www]# virsh -c qemu+tcp://192.168.1.210/system nodeinfo
error: failed to connect to the hypervisor
error: authentication failed: authentication failed
The port is open, when I try with telnet it’s connecting…
Can you please help me.
Read the following link : http://unix.stackexchange.com/questions/163495/libvirt-error-when-enabling-hugepages-for-guest
Try the solution in the page shown by clicking the link.
I haven’t tried it yet since I didn’t face the problem.
I’ll try to have another look around.